The ’noids are just about finished. Trust me, sarge. This one’s gon’ be a cakewalk.
Galactic Rangers has always been a core memory of my childhool playing Ratchet and Clank: Up Your Arsenal. I love their quirky dialogues, overall look and the presence they bring in game. My biggest deception was the lack of Ranger skins, or a way to play as their characters. I discovered years after that a “bullhorn” gadget was planned in the game, allowing us to command a ranger squad. But it was ultimately scrapped, probably to the rushed dev time of this game.
Straight from the game
My big idea was to get the 3D model from the game, as many online resources allow us to freely download them. I jumped on spriters-resource.com and downloaded the Ranger.
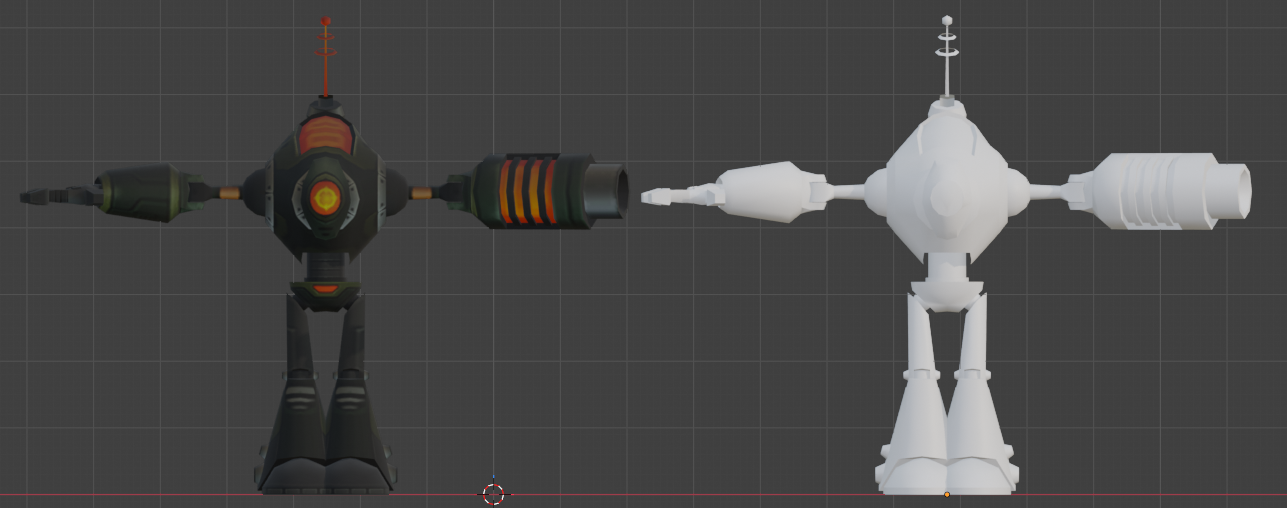
Unfortunately and as expected, once the textures removed, the model is very bare-bones with little to no details and very basic shapes. That’s what you get for ripping a minor character from a PS2 game. With a whapping 2,538 polygons, I needed more if I wanted a cool 3D printed figure in the end.
To the drawing board
I ain’t a 3D modeler, but I had to give it a chance. Plus, rangers are made of very generic shapes, so that would be a good exercise. I started by modeling the feet. They are very simple oval shaped with a elongated dome. I added grooves and called it a day. Then it was about connecting it to the leg. Instead of opting for a static pose that I will (maybe) regret later, I decided to add articulations with small ballcups and balljoints. Instead of remaking the wheel, I opted to add Mini 13’s modular joints onto my build.
The Ranger would almost become an action figure!
It took me a week of working almost every evening on the project. So something between 14 to 20 hours I would say.
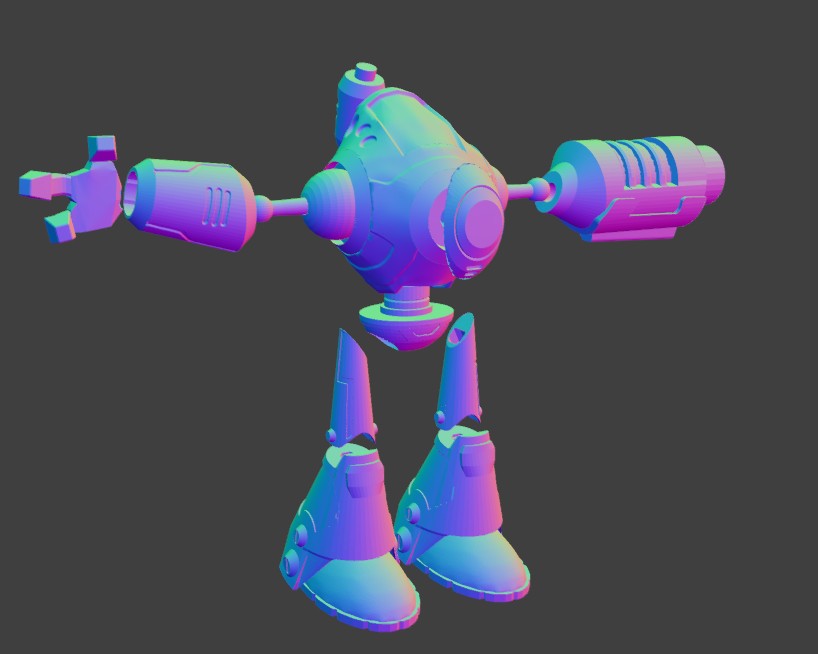
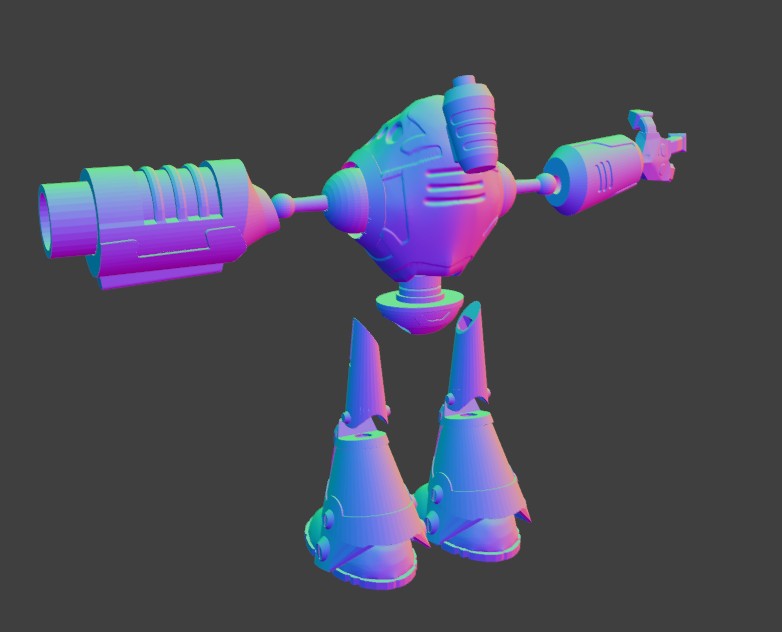
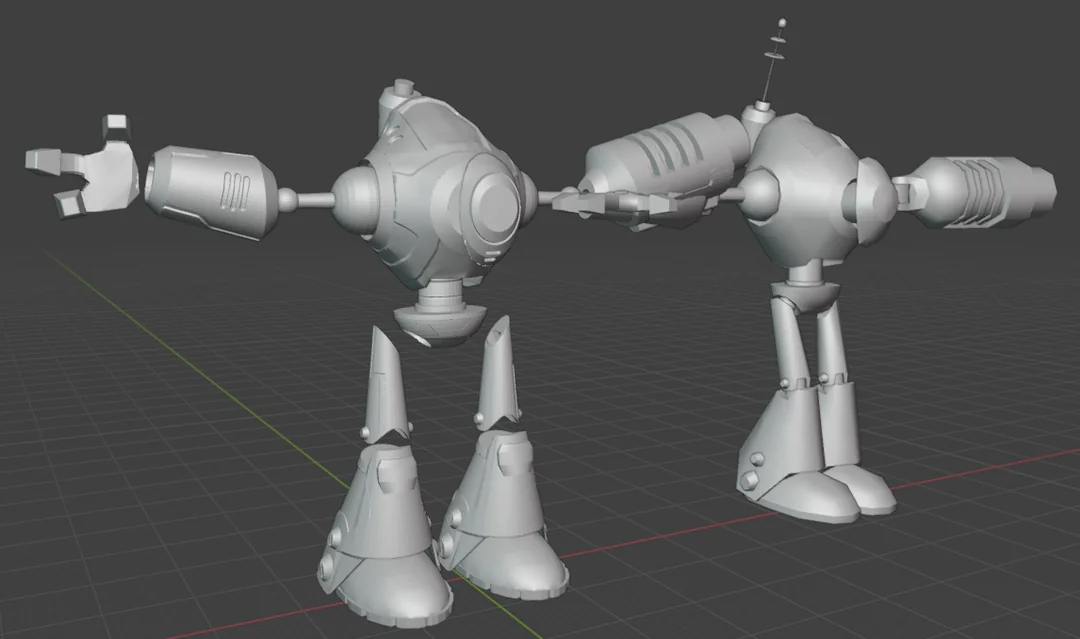
I tried my best to be accurate to the details given by the texture image, as well as respecting scale and shapes. The body was obviously the hardest part, but in the end I’m very pleased to what I produced, and very pleased to the 3D modeling skills I acquired at the same time.
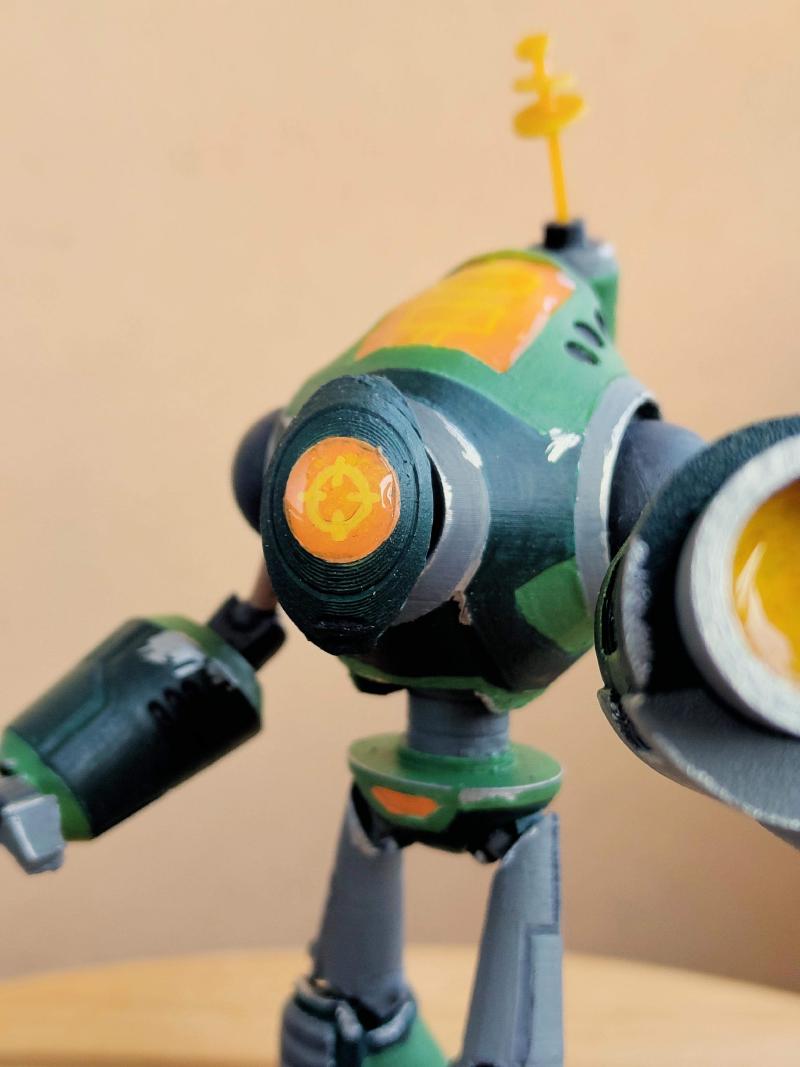
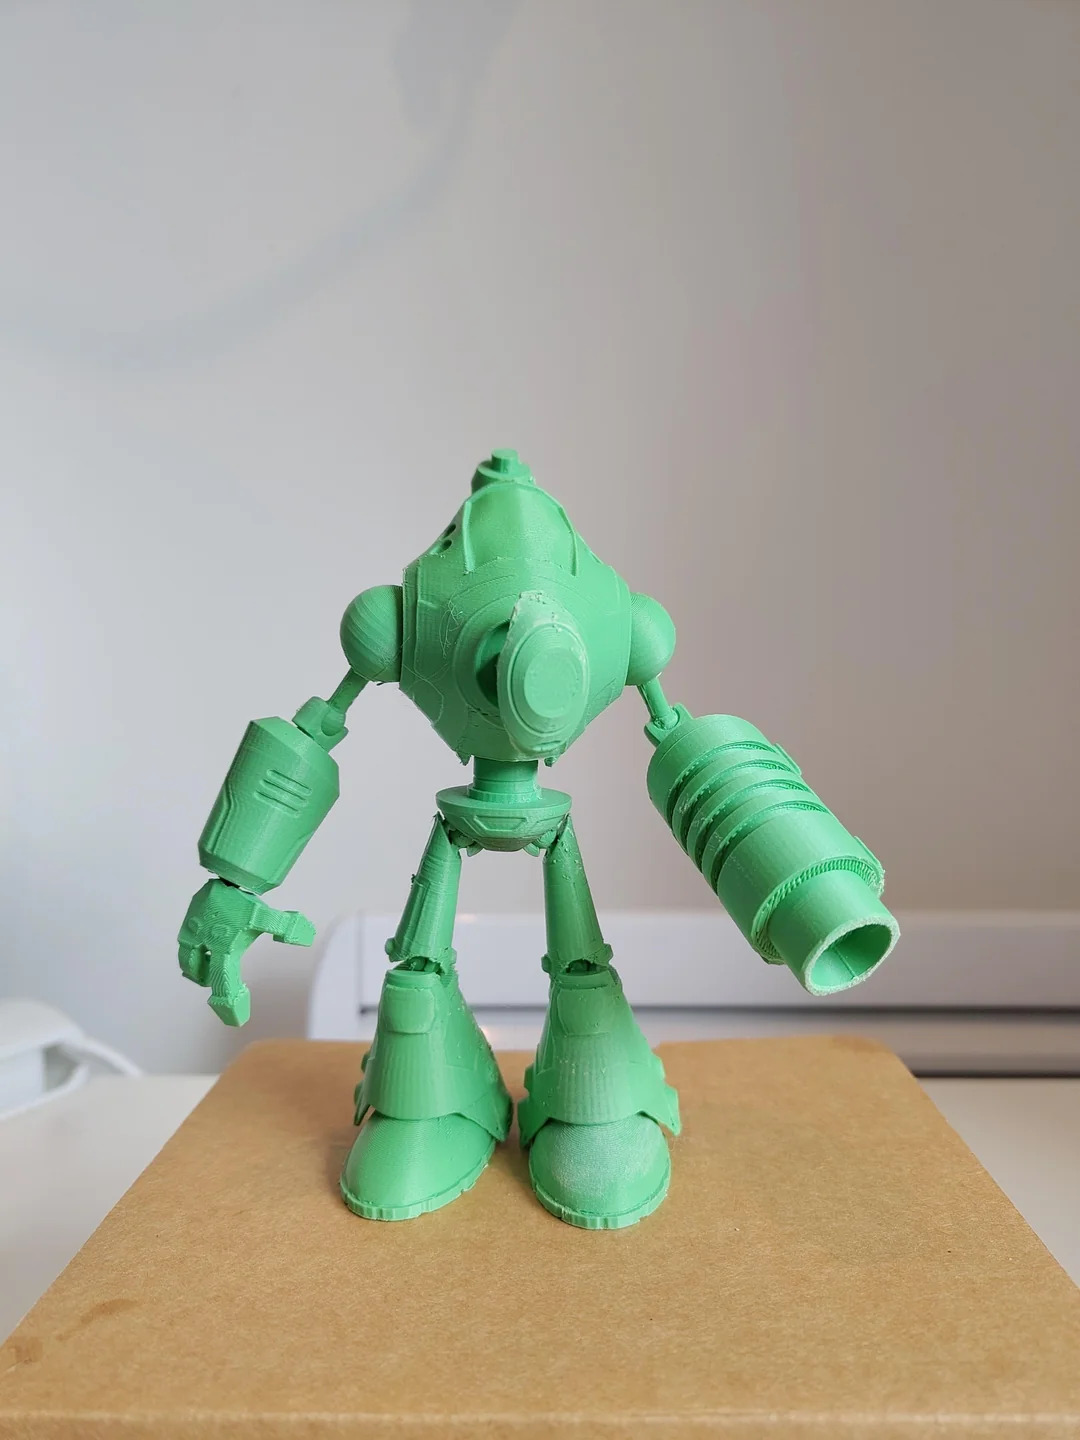
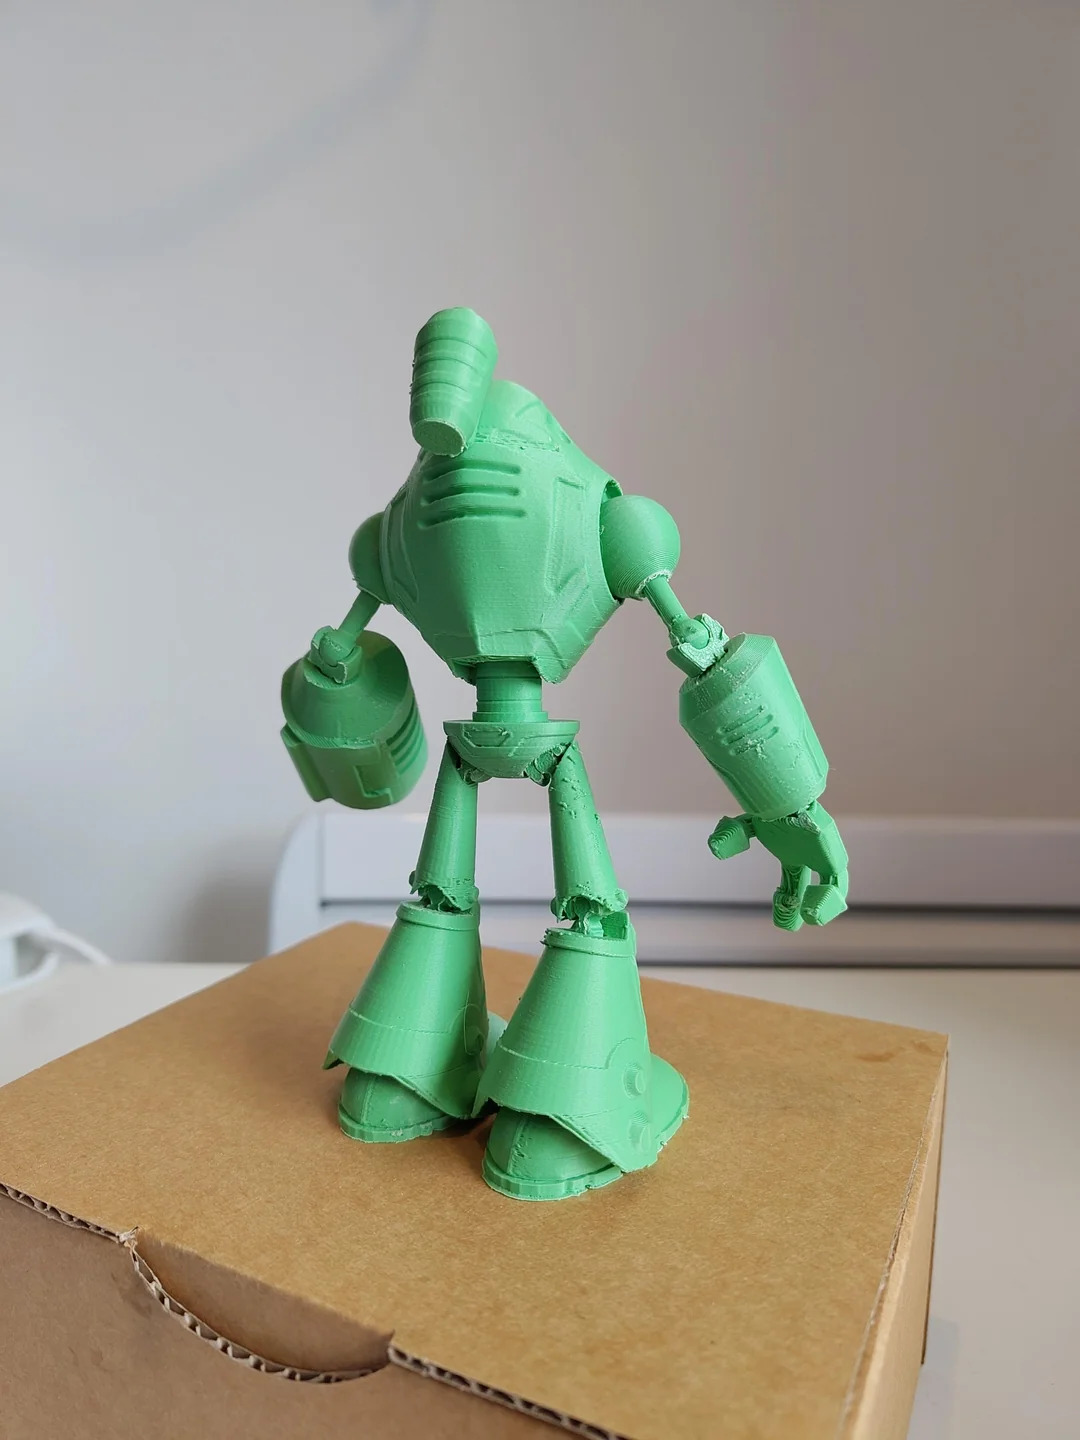
Printing, assembling, painting
Once printed, the model looked very good. I obviously had a ton of sanding to do, but it was very pleasing to see something you spent time creating in the virtual word coming to life.
I don’t have much pictures of the WIP painting unfortunately, but it was quite straight forward. UV resin was used to make the eye and blaster glow, and I printed three little disks to make the antenna.
Final model

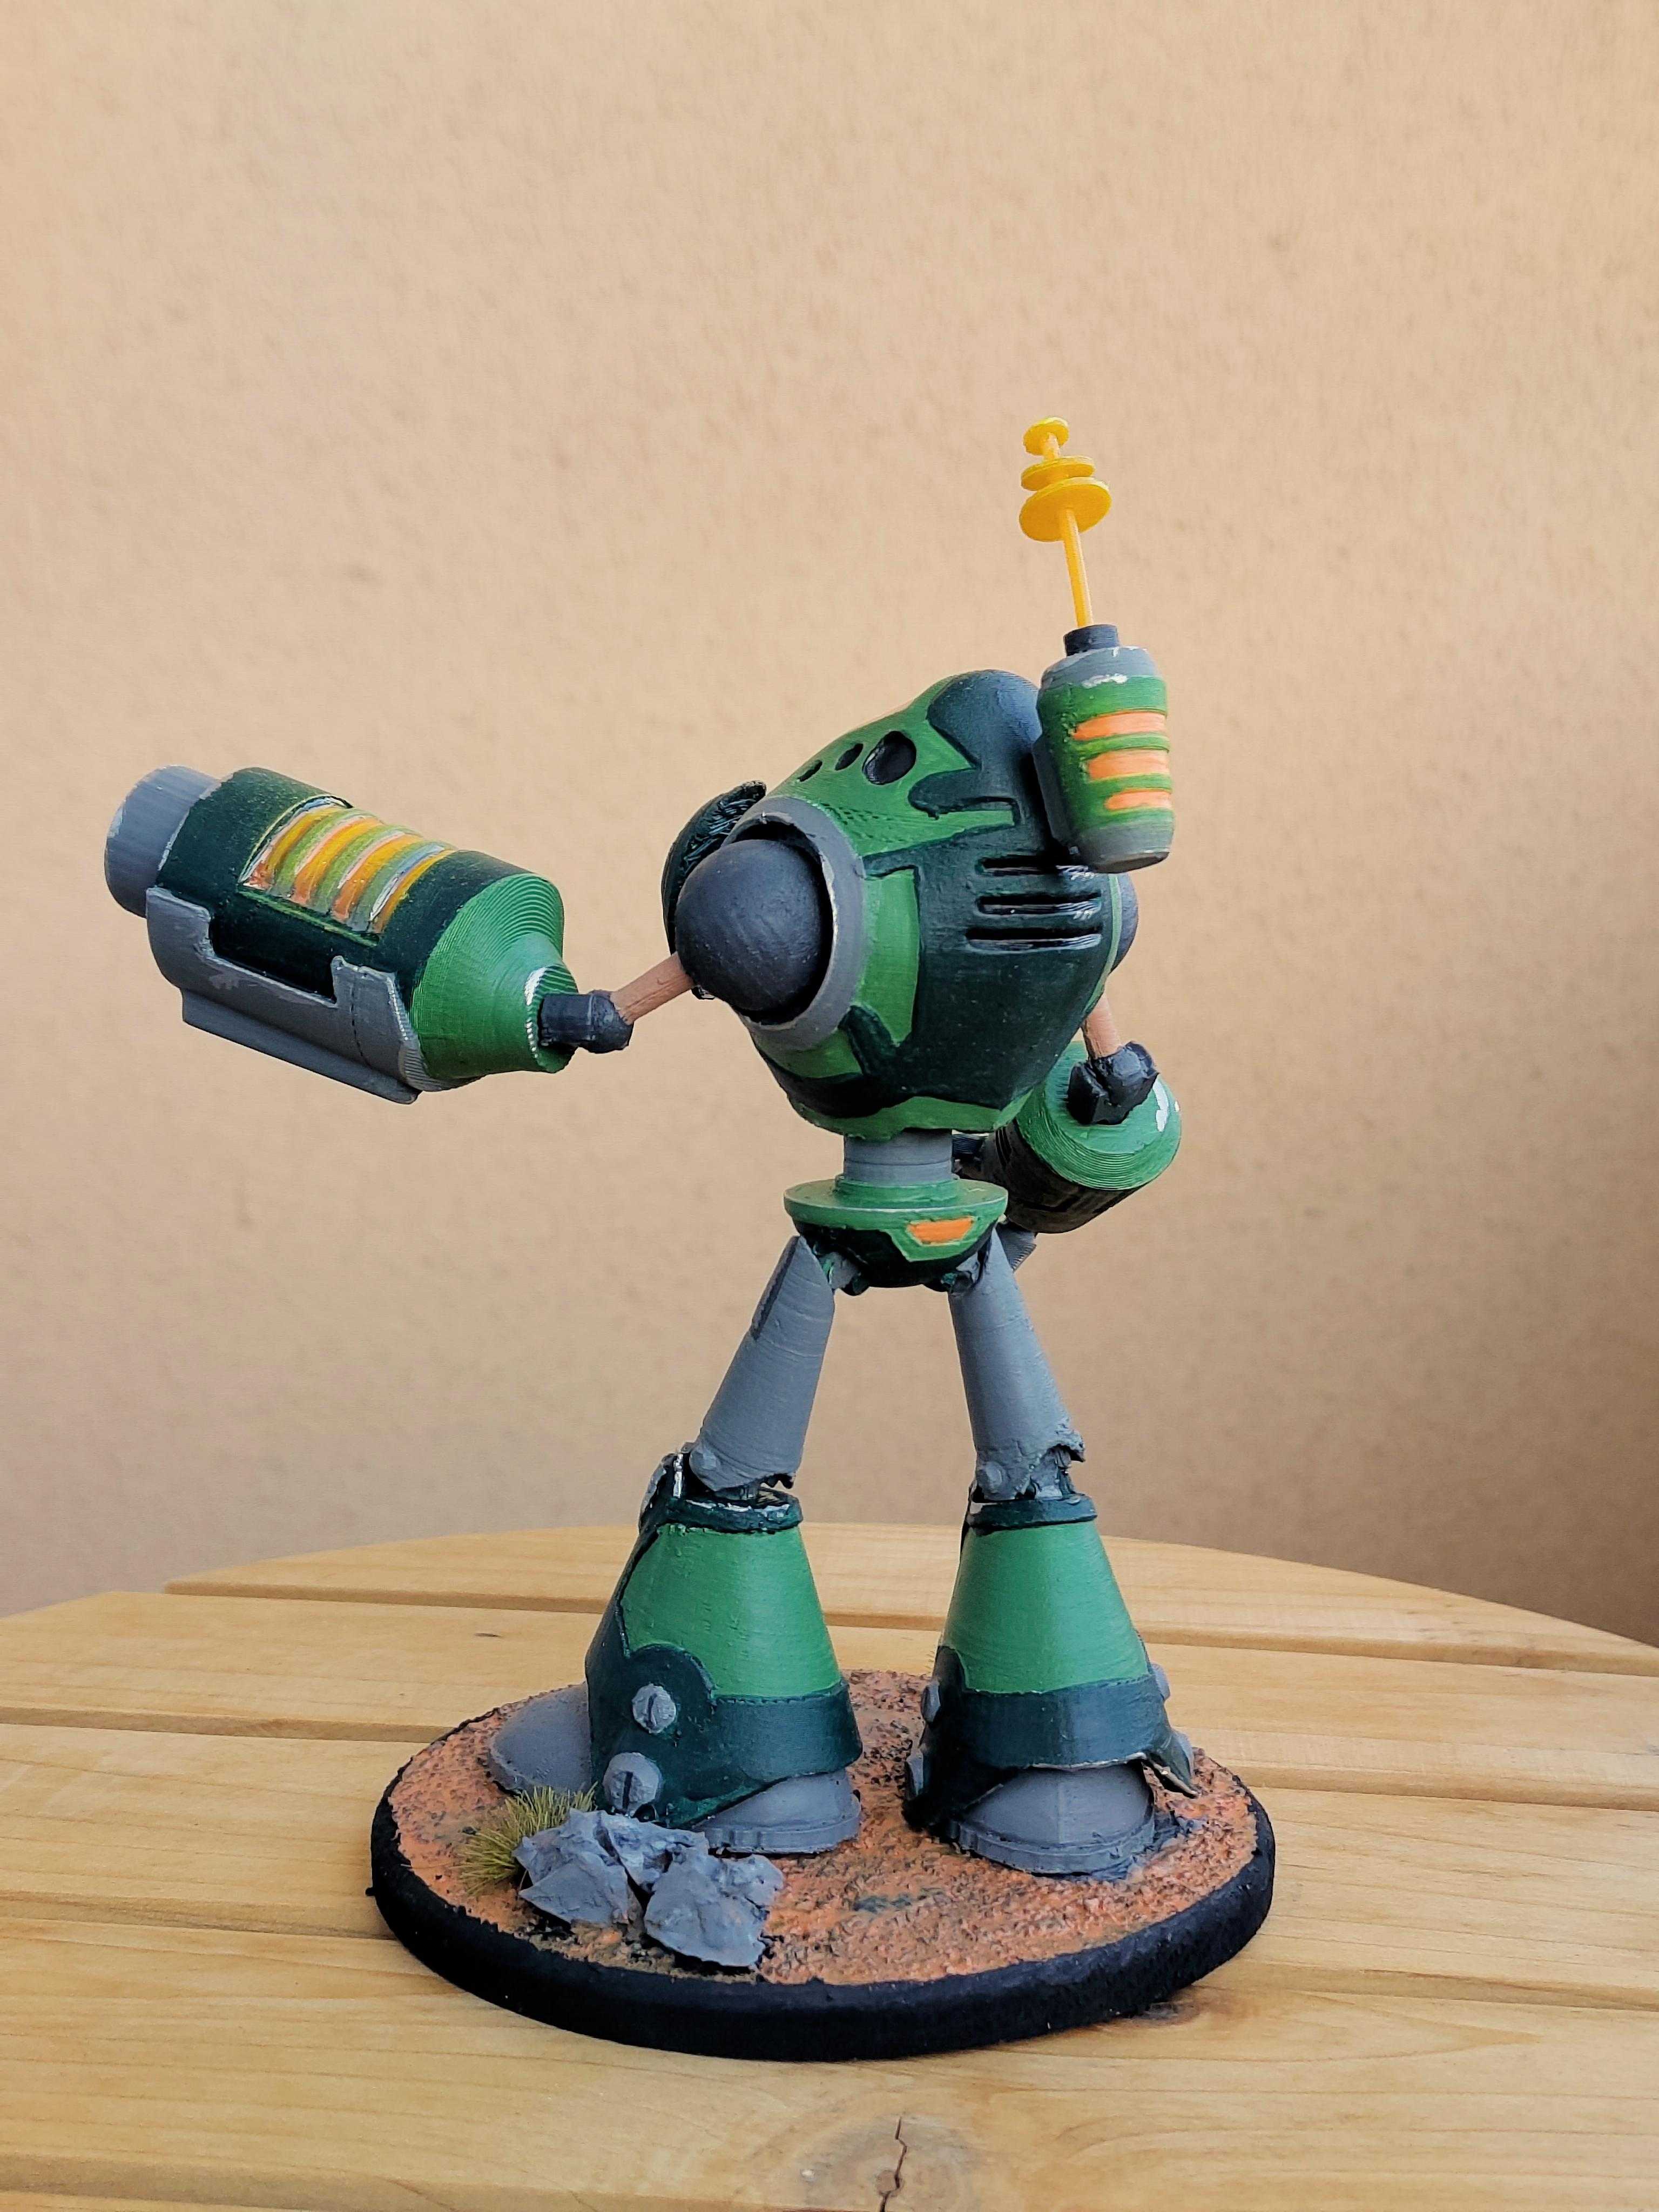

The base is a simple wooden disk with grinded coffee and glue as sand/pebbles. Rocks are made with a cork, and the whole base is meant to represent Tyhrranosis’s dusty ground, with the little bush and orange tone.
Files
3D files are all available for free on my Thingiverse or Makerworld profiles. If you ever make your own, please ping me somewhere, I’d be glad to see!